I've been wanting to do this for a while. So I finally sat down to figure out the logistics of it, and came up with this: My sidebar will have a link to another blog that I'll be doing called You Matter to Him. I had lots of ideas for what the blog could be called -
Seek Happiness
True Happiness
Peace in This Life
Your Potential, Your Privelage
Through Him that Loved Us
Seek This Jesus
Guardians of Virtue
A Consecrated Life
Things that Matter Most
Never Leave Him
He Lives -
But I think the one I chose is so inviting and warms your heart before you even go there. :) (Thank you President Uchtdorf!)
I don't know how exactly to describe what I'm envisioning for it, except what I said in the sidebar gadget. I guess I want it to have the discussions/lessons sort of the way I gave them on my mission. I want friends from home or others to be able to come to this here blog and click on that blog to check out, even if just casually, what I believe and have them feel like it's really me talking. And maybe as a spiritual journal of sorts with things that I think are really important for the world and even Latter-day Saints to know.
Nothings up yet, so for now it's just blank. (*sad trombone sound* womp womp womp) But it'll be an ongoing Sunday project for me. Hence, this is its first Sunday debut :).
I am excited.
!!!!! :D
Sunday, November 6, 2011


Saturday, November 5, 2011
Love this Quote
My parents met this man, Craig Belnap, who used to always say this in his sunday school lessons. I love it and believe it. So I created it to be my mormon.org link picture (to the right).

Pear Dessert
SAUTEED BROWN SUGAR PEARS WITH MINT
I had a very ripe pear that I didn't want to waste, so I threw it in a saute pan with some butter. Can you ever go wrong with fruit, butter, and sugar?
So so so good.
(sorry no picture)
4 red pears diced w/ skin on (Any kind would do, but the red gave it some nice color)
3 Tbsp butter
1/4 tsp salt
2 Tbsp + 1 tsp brown sugar
1+ Tbsp chopped fresh mint*
*Did you know you can freeze your herbs in a ziplock and pull them out, good as new, for use in the winter? If you do that, just break them up into pieces while they're still frozen.
Melt butter in any kind of large skillet. Add pears and saute until they start to break down. Sprinkle on salt, br sugar, and mint; stir. Serve warm or cold. Would also go well with vanilla ice cream or mascarpone cheese.
I had a very ripe pear that I didn't want to waste, so I threw it in a saute pan with some butter. Can you ever go wrong with fruit, butter, and sugar?
So so so good.
(sorry no picture)
4 red pears diced w/ skin on (Any kind would do, but the red gave it some nice color)
3 Tbsp butter
1/4 tsp salt
2 Tbsp + 1 tsp brown sugar
1+ Tbsp chopped fresh mint*
*Did you know you can freeze your herbs in a ziplock and pull them out, good as new, for use in the winter? If you do that, just break them up into pieces while they're still frozen.
Melt butter in any kind of large skillet. Add pears and saute until they start to break down. Sprinkle on salt, br sugar, and mint; stir. Serve warm or cold. Would also go well with vanilla ice cream or mascarpone cheese.
Thursday, November 3, 2011
Tile Coasters
I've seen these all over the blogosphere and Pinterest. They're super easy, not pricey, and s'darned cute.
One scrapbook page will create 9 coasters.
Directions:
1) Measure/mark/cut the paper into thirds, so a 12x12 inch page becomes 9 4x4 inch squares. But, just as an FYI (which I haven't done yet b/c it requires a little more work), it's cuter if there's a little more tile boarder showing. That means you'd have to cut each square just slightly under 4".
2) Glue the paper down with a sponge brush (I used Mod Podge, but I don't know how important that is). *****IMPORTANT NOTE: Put glue on the entire back side of the scrapbook square, NOT just on the edges. Because as you do the next step, if only the edges are glued down, the middle will warp, and the only solution is to remove that scapbook square and use a new one. Thank you trial and error.*******
3) Using your sponge brush, spread glue all over the top of the paper/tile. Let dry and cure.
4) Once dry, spray with a clear sealer. Let dry. Repeat. Repeat. Repeat... till it's super coated and hard.
5) Put felt or foam "feet" on the four corners of the back of each tile.
-These can be used as coasters (but do people really use coasters?) or they can be repurposed as wall decor, with the help of a few more supplies.
I made the wedding ones below for my friend Erin's wedding, which Stephanie & I were able to attend in San Diego! Sooo nice to get away for a weekend. And it's been FO-EVA since I've been to the beach (where we killed some time before the reception because it was a block away from the beach!).


And these I made for my two-weddings-in-one-weekend weekend. My former roomie, Erin, got 6 of them and another friend, Kallie, got the other 6. I like these better than the "wedding" ones above 'cause they're more fun and unique.
 |
| Click on the image to enlarge and see more detail. |

Here are some close-ups of a few of them. I don't know why I took close-ups of only these b/c they're not necessarily my favorites.


Tuesday, November 1, 2011
A Few More
Just so these are documented:
white, wow, "Y"
toothbrush - (doo-buh)
tooth paste - (doo-bee)
noodle - (noo-do)
neosporin, a.k.a. "ouwwa cream" - (ow-wa neen)
home - (says it like "own")
away - (wayyy)
broom & spoon - (moom)
bus - (buth) He has a lisp! So cute... for now. But I know it won't be when he's older!
boots - (boowut)
I love you - (I...lllluv...yyyyyou.)
And today he said "I...llllllluv...mama" !!!!!!!!!!!!!!!! :D :D :D :D :D :D
white, wow, "Y"
toothbrush - (doo-buh)
tooth paste - (doo-bee)
noodle - (noo-do)
neosporin, a.k.a. "ouwwa cream" - (ow-wa neen)
home - (says it like "own")
away - (wayyy)
broom & spoon - (moom)
bus - (buth) He has a lisp! So cute... for now. But I know it won't be when he's older!
boots - (boowut)
I love you - (I...lllluv...yyyyyou.)
And today he said "I...llllllluv...mama" !!!!!!!!!!!!!!!! :D :D :D :D :D :D
Halloween Decor
Even though I wish I could claim them, none of these ideas are my own. Just adaptations.

The wreath idea came from cousin Christy: http://creativelychristy.blogspot.com/2010/09/halloween-wreath.html, except she used a twig wreath.


The wreath idea came from cousin Christy: http://creativelychristy.blogspot.com/2010/09/halloween-wreath.html, except she used a twig wreath.
 |
| Please ignore the mess of a landscape. I may be a designer, but that doesn't mean I enjoy maintenance or have the $$ for shrubs. :) |
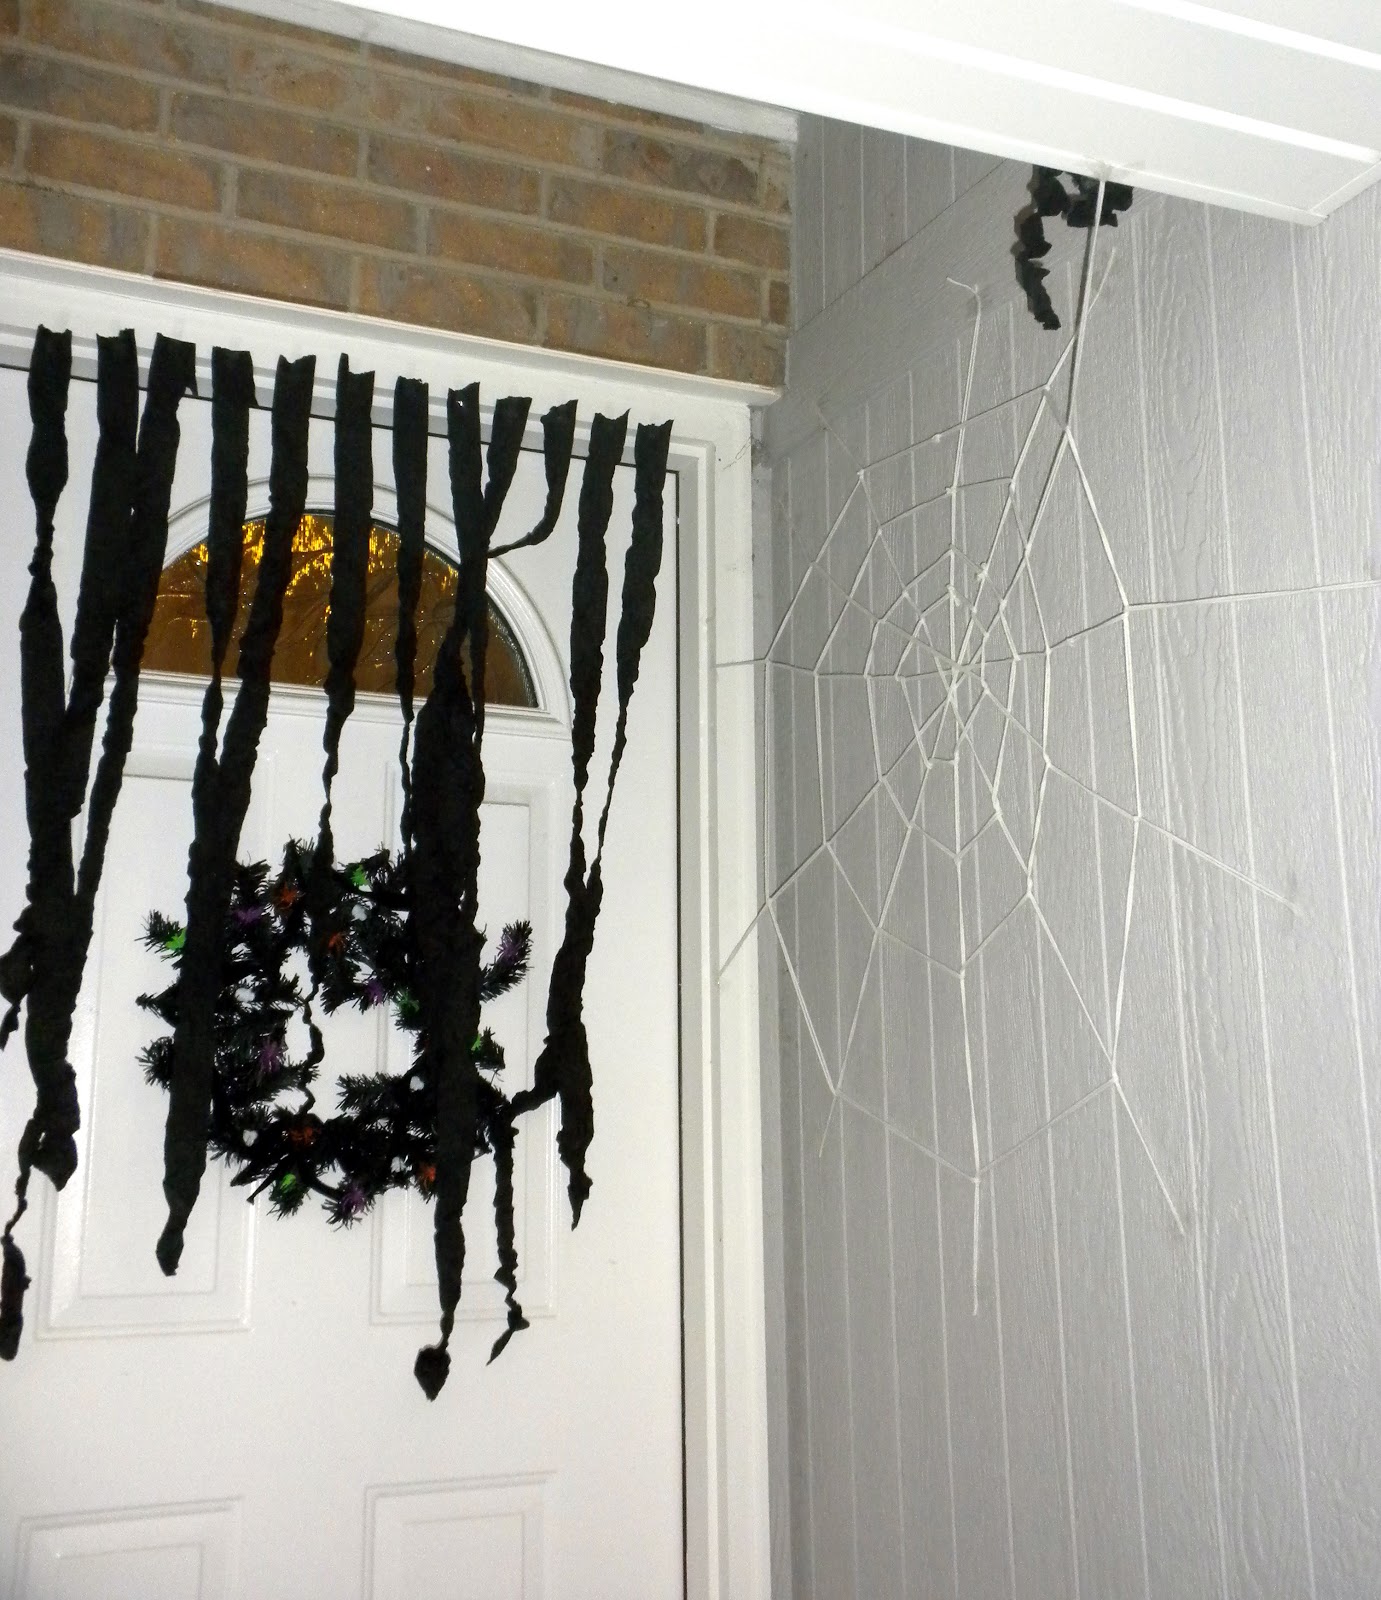
I really wanted to do garbage bag streamers coming off the porch awning, but I had black crepe paper, and ... I can't remember why I put it on the door frame instead.
 |
| The yarn had a really hard time staying taped up in the wind. |
And the spider web idea came from Dana @ MADE: http://www.dana-made-it.com/2011/10/tutorial-10-min-yarn-spider-web.html.
As for the wreath:

Subscribe to:
Posts (Atom)